Create Newsletter subscription - Nextjs 14, Sendgrid
Are you creating a blog website or portfolio and want to keep your followers updated about your latest posts? Today we gonna implement a newsletter to achieve that.
We gonna gonna use Next.js along with SendGrid. Let's say a few words about the technologies we will use today.
Next.js is a React framework that allows us to create fast server-side web applications. We will use Next.js for our front-end to display our Newsletter form as well as for our backend to create API route to subscribe users for our Newsletter.
SendGrid is an email delivery platform that provides APIs for sending transactional and marketing emails.
SendGrid - setup
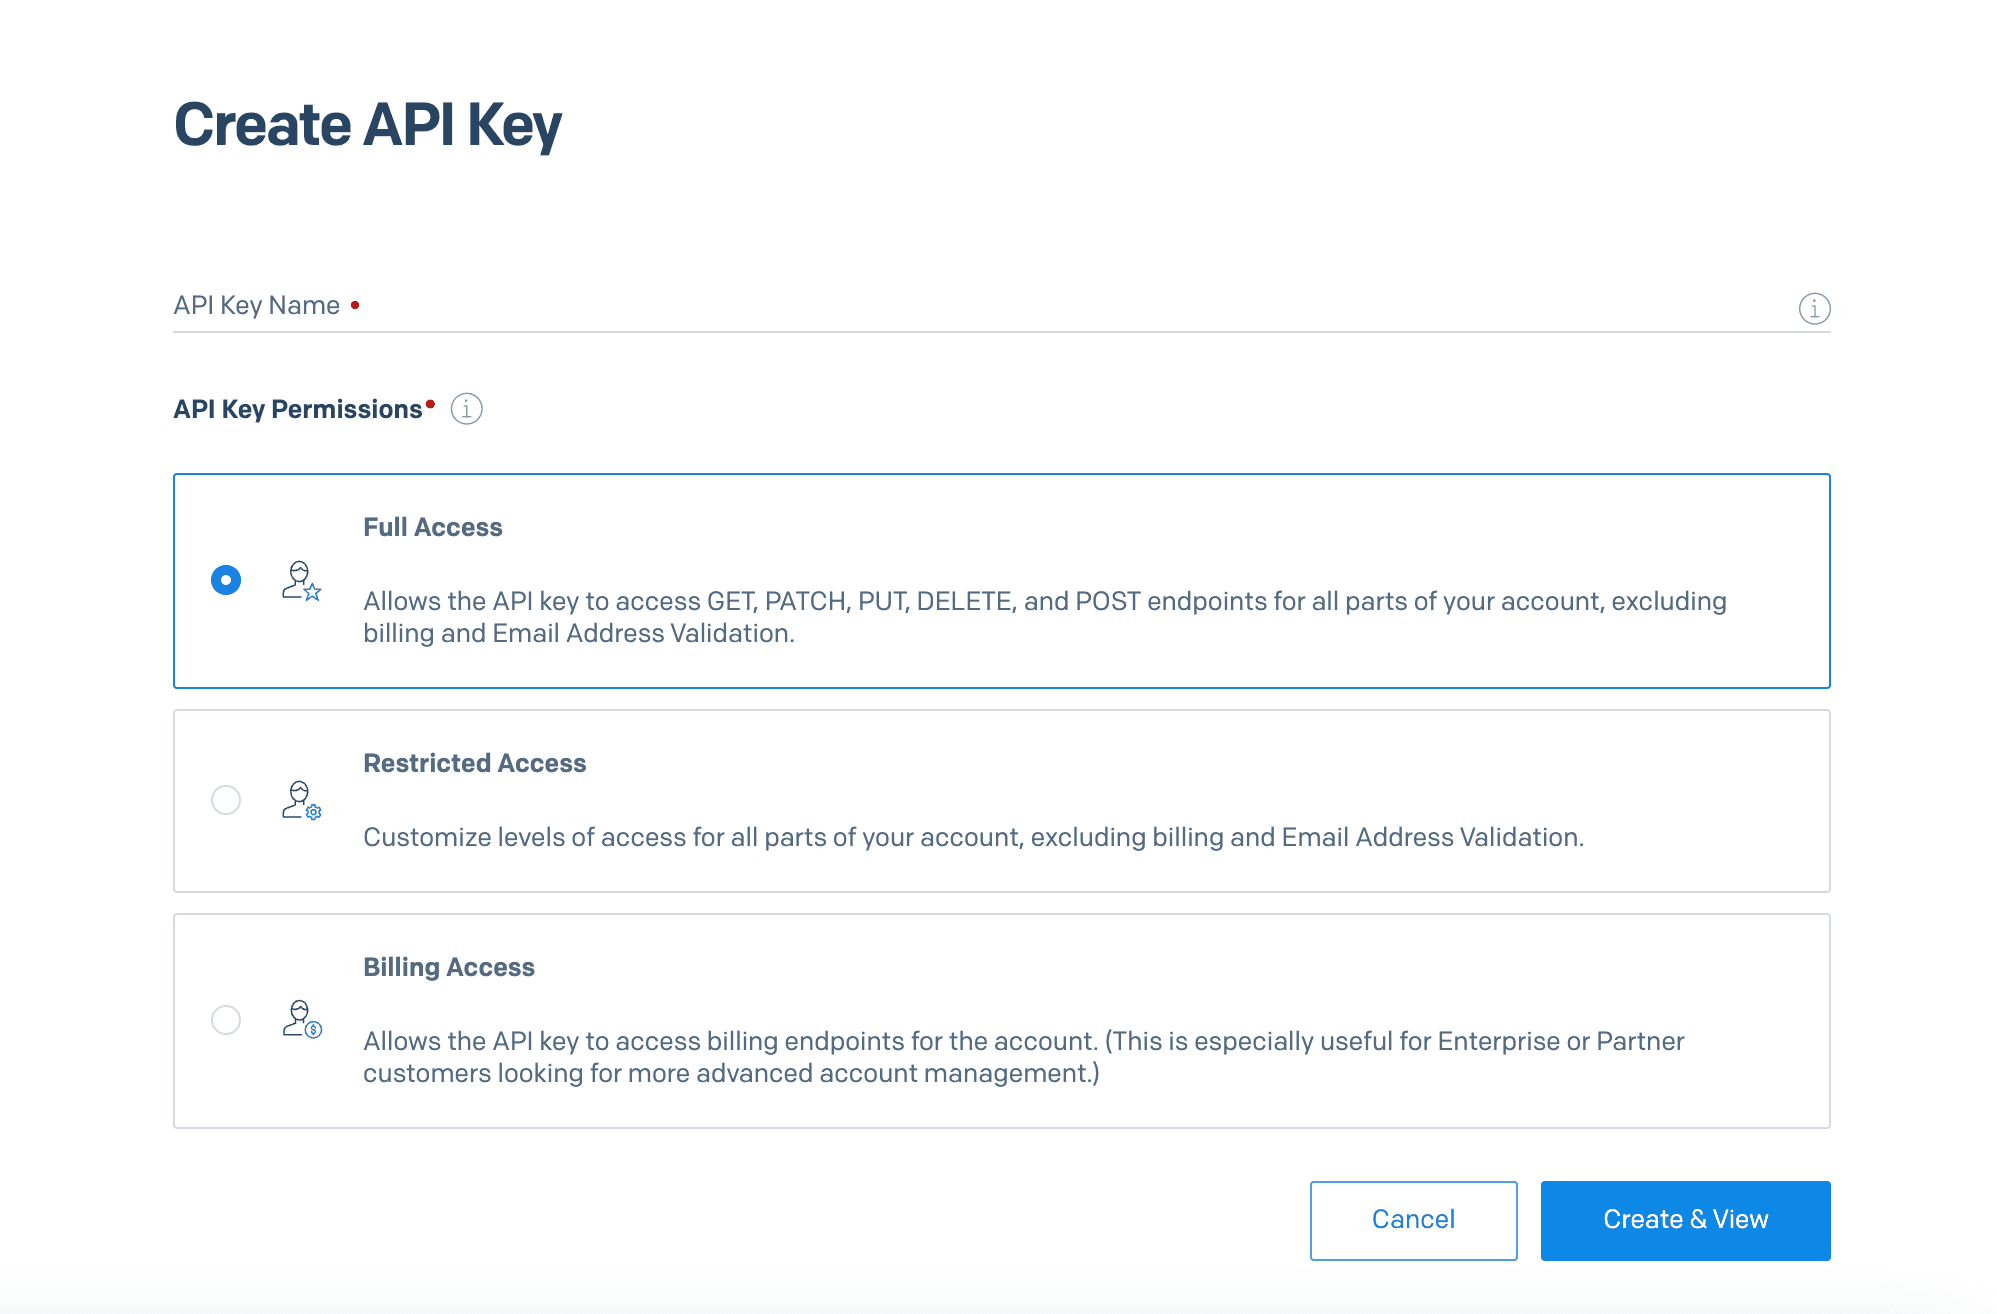
Now let's dive into the implementation. First go to https://app.sendgrid.com/settings/api_keys - sign up & create an API key.
Copy right away, important to note that you can only view it once.
SENDGRID_SECRET = "YOUR_API_KEY"

Step 1: Create a Sender
In next step we need to Create a sender.
https://mc.sendgrid.com/senders/new - go here and click Create New Sender Button.

Step 2: Create Contact List
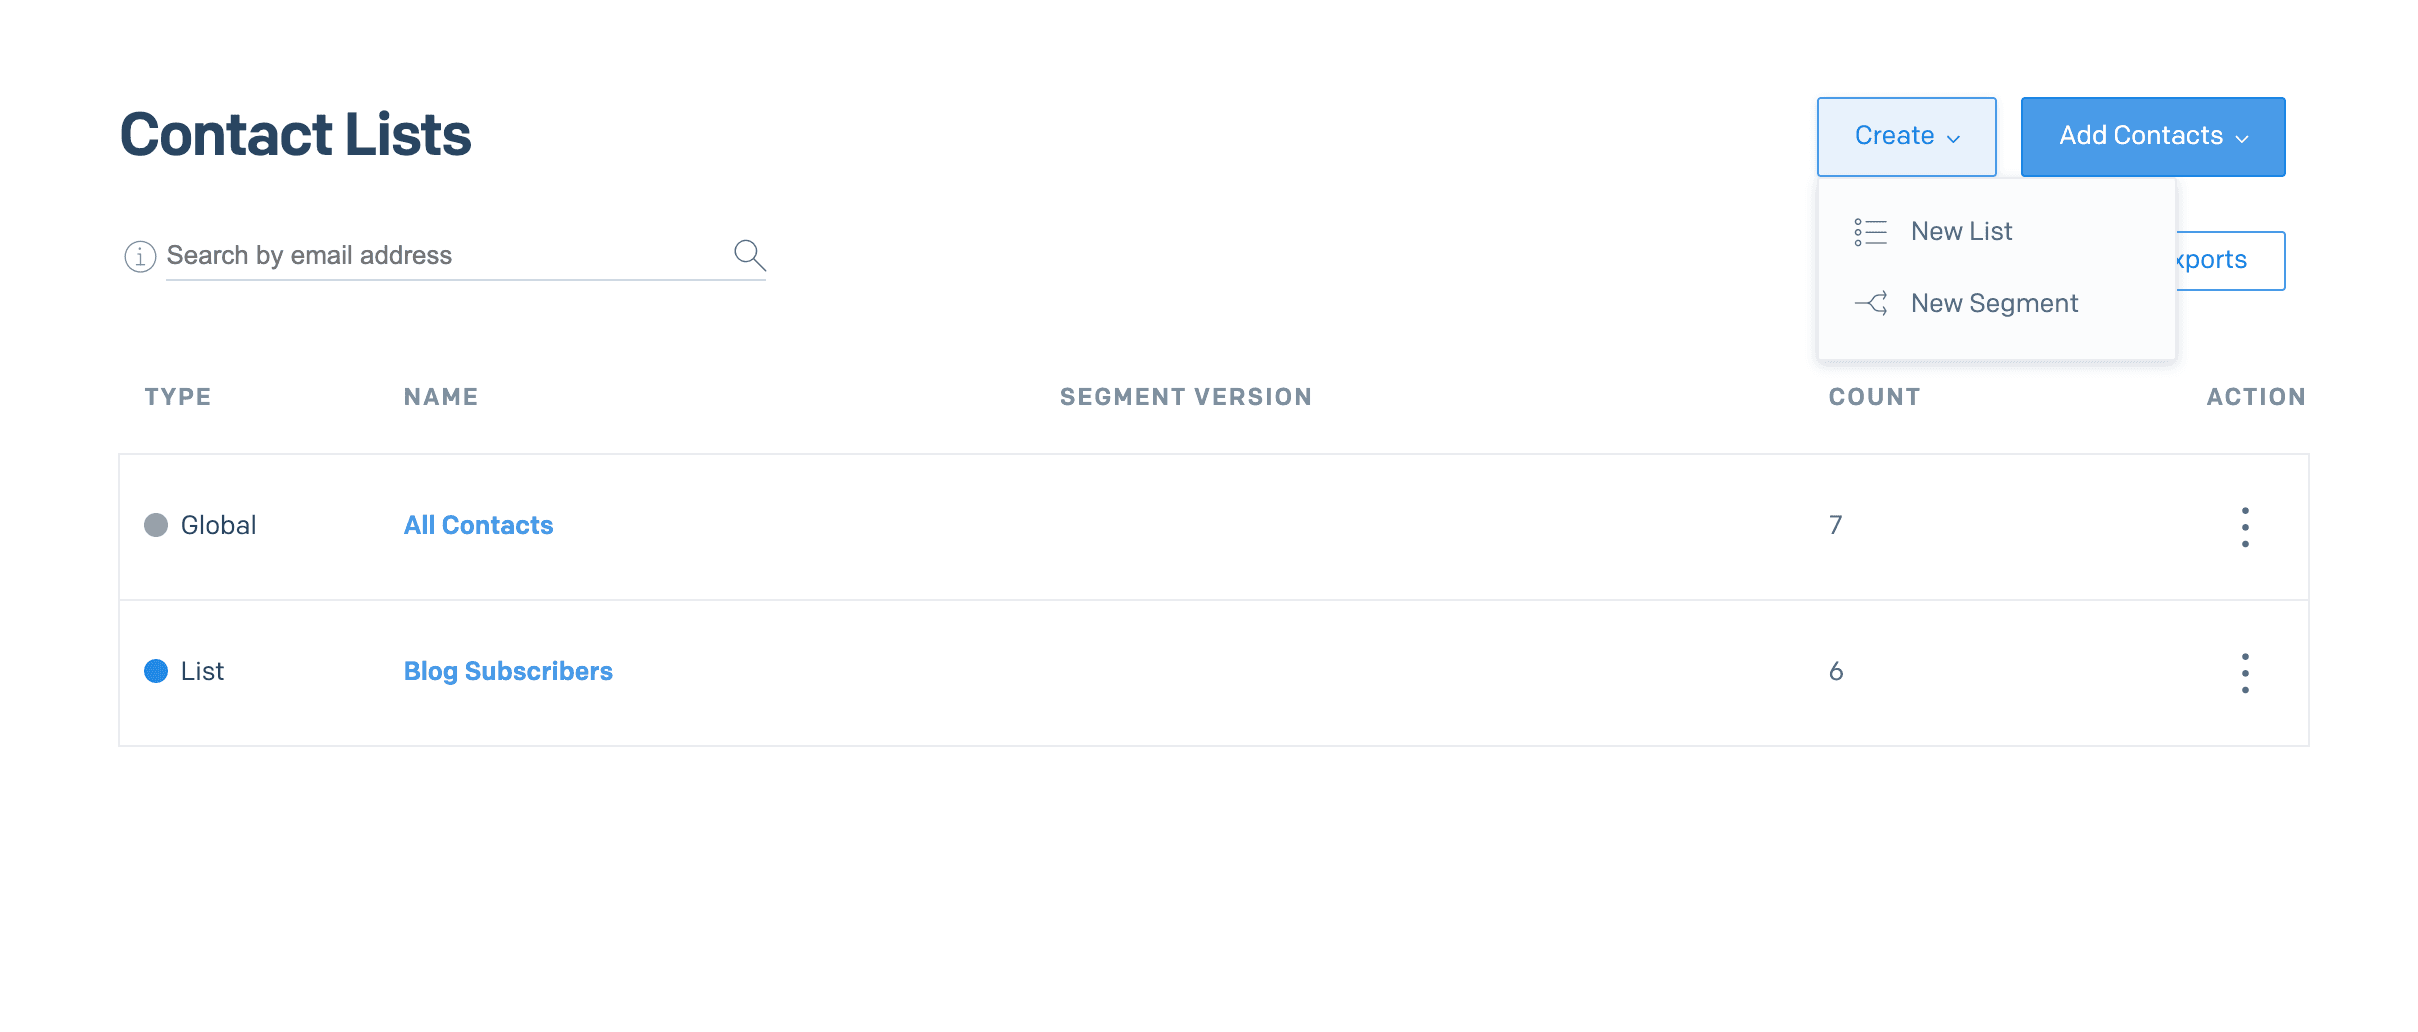
Now we need to create our Contacts List where we gonna store our subscribes. On the left navigation panel choose Marketing --> Contacts.
Click Add Contacts button --> Manual Add

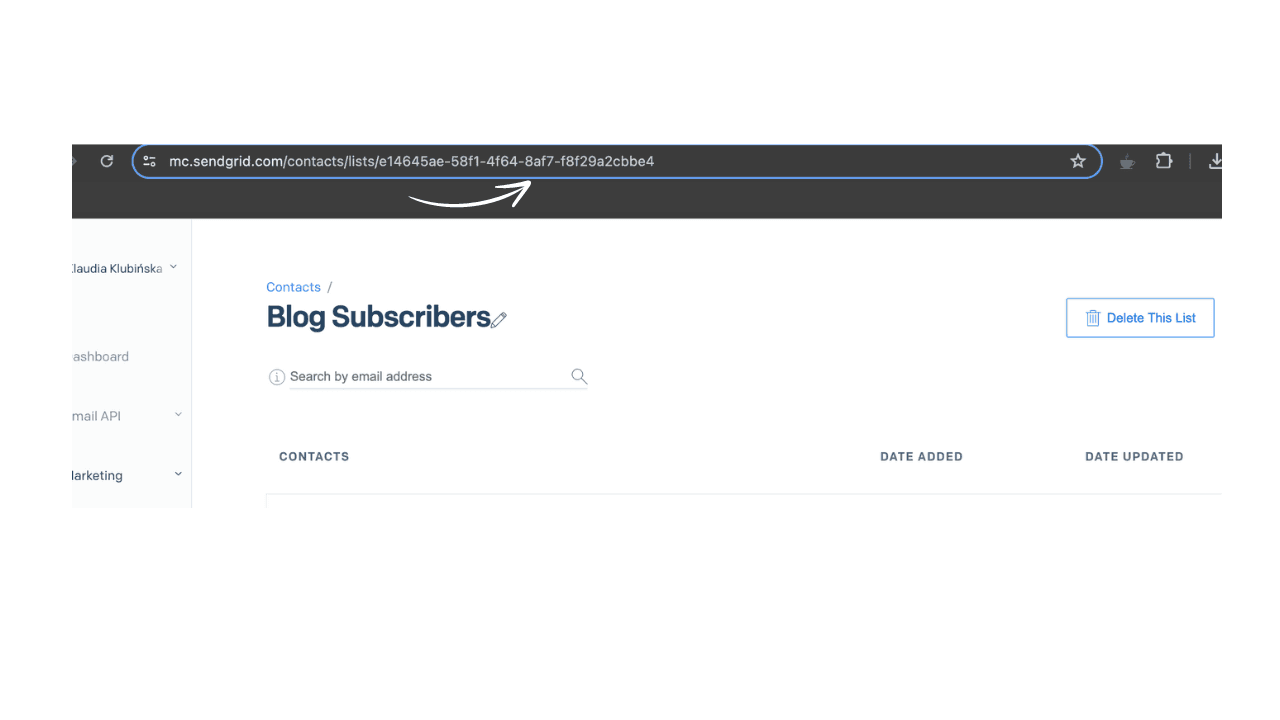
Next Create --> New List. After you create a list, copy the list id from url
SENDGRID_MAILING_ID = "PASTE_YOUR_LIST_ID"

Next.js setup
Create project
npx create-next-app@latest
Step 1: Create your API route
app/api/newsletter
route.ts
Step 2: Create Newsletter component
Step 3: Create .env file and add SendGrid variables
Add .env.local file to your Next.js project, and add:
SENDGRID_SECRET = "YOUR_SENDGRID_SECRET"
SENDGRID_MAILING_ID = "YOUR_MAILING_LIST_ID"
All set! You just created Newsletter form for your projects! 🎉
______________
Thanks for reading 🤍